As an Amazon Associate, this site earns commissions from qualifying purchases. For more details, click here.
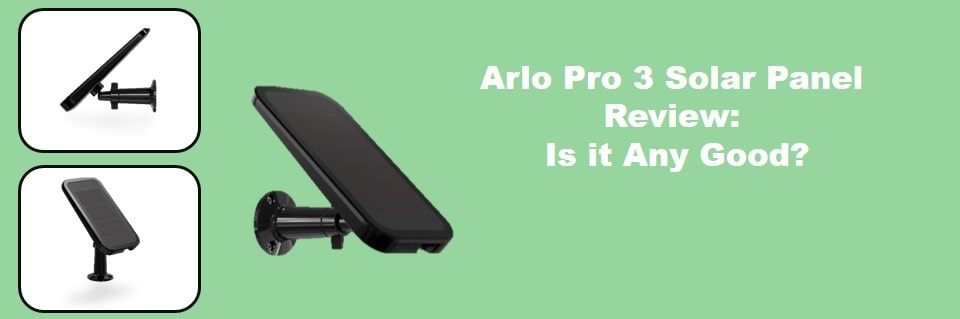
So you’ve got that new Arlo Pro 3 camera. And it works great except the battery drains way too fast right? Well that’s where the Arlo Pro 3 Solar Panel comes in. In fact the claim is “endless power supply for your Arlo Pro cameras”, but does it live up to the hype?
Bottom line: the Arlo Pro 3 solar panel can significantly reduce camera charge time frequency. But like every solar panel, performance depends entirely on availability of sunlight. During summer days, expect to get the best results, and on overcast rainy days, a performance dip. But is it worth the price? That’s what we’re going to find out in this review.
Performance
So does the Arlo Pro really provide an endless power supply? Technically the answer is yes because as long as the sun’s out, you can keep charging that camera battery. But it’s not that simple. We’ll base performance on the following:
- if the solar panel charges
- Charge time speed
- How long does each charge last
- If it saves on battery charge and replacement
Yes it does. Place the panel outside so it receives as much sunlight as possible. When it’s charged you can connect it to your camera and you’ll never have to use the battery. That’s how all solar panels work and this is no exception.
A common question -and complaint- is the Arlo Pro 3 solar panel isn’t charging. And the reason is it’s not getting enough sunlight. As we’ll explain shortly, solar power takes time and sunny skies. if it’s cloudy or raining, the panel will draw very little or no charge at all.
Other possible reasons why it may not charge is not removing the plastic barrier, loose camera plugs and using the panel near shade. The solar panel might also be dirty, so a good cleanup should fix it.
How Fast is the Charging Time?
Two factors determine charge speed: how much sunlight is available and the battery’s depletion level. if you are familiar or been using solar batteries for a while, the rule of thumb is to recharge when the level drops to5 0%. This is something new solar power users have to consider.
It takes about a day and half to recharge the battery from 50% to 100%. This is with full sunlight availability.
It takes about 3 days to recharge the battery from 50% to 100% with just 3 hours of sunlight during those three days. The battery was also recharged at 50%.
If your battery level is less than 50% or even 0%, it will take longer to fully charge. Even if there is full sunlight available, batteries just take longer to recharge from 0%-100%. That’s why many solar power users prefer to recharge their batteries when it drops to 50%.
If the sun’s out and the battery isn’t completely depleted, expect the Arlo Pro to fully charge a battery in 1 to 3 days. Want the maximum performance possible? Fully charge the battery and then connect your camera to the solar panel. You can run the camera all day and the battery will never be depleted.
How Long Does Each Charge Last?
If you charged the battery up to 100% and unplug the panel, the charge should last like before. If you charged the battery and keep the solar panel connected, the battery will never drain. Why? Because you’re using the solar panel.
As long as your Arlo Pro is connected to the solar panel and it receives sunlight, the battery will not drain. The battery only kicks in during cloudy days or evenings when there’s no sunlight. Of course you can recharge the batter the next day, so imagine how long the battery can last. The only time you’ll really use the battery is the winter or consecutive rainy days.
Does the Arlo Pro save on battery charge? Yes it does. As long as the camera is connected to the solar panel and the panel receives sunlight, you won’t be using the battery. You won’t be able to use the panel during evenings and cloudy days, but it should be months before you deplete the battery. It’s possible for a battery to last for several months, which is a lot of savings.
What’s Included
The package comes with:
- 1 solar panel
- An extension bolt
- Window decal
- Quick start guide
- 1 mount
- Mounting screw kit
- A 6 or 8 ft power cable (depending on the version you buy)
The power cable is rather short, but Arlo Pro extension cables are available. You can also buy a gutter mount for your camera. Overall though, the accessories are okay and the Quick Start Guide is informative.
Design wise the panel looks similar to the old Arlo Pro Solar Charger, but that’s all they have in common. This 12 cell panel packs more power (up to 10W compared to 2W for the older version). More watts means more power goes into the battery, which is great.
The mount is solidly built and adjustable for easy installation. The operating temperature range is 32 to 113 F (0 to 45 C), which is also impressive. The solar panel, power cable and mount are weatherproof.
Is the Arlo Pro 3 Solar Panel Compatible with My Arlo Pro Device?
The solar panel is compatible with the Arlo Pro, Arlo Go and Arlo Security Light System. There two versions available, the VMA5600 and the VMA4600.
| The VMA5600 | The VMA4600 |
|---|---|
| Compatible with Arlo Pro 3, pro 3 Floodlight, and Arlo Ultra, Ultra 2 cameras | Compatible with the Arlo Pro, Pro 2 and Go cameras |
| Weatherproof | Weatherproof |
| Links to your camera via the 8 ft power cable | Uses the Arlo Pro USB port to hook up the 6 ft power cable |
Arlo Pro 3 Solar Panel Installation
Using the solar panel with your camera is easy. Long time solar power users will find this very familiar, but even fi it’s your first time it’s really simple.
- Find a sunny outdoor spot for the solar panel. You can put the panel any distance from your camera as long as the cable is within reach. For optimum performance we recommend a maximum distance of 4.5 ft from your camera.
- Position the panel on eaves, gutter, roof, fence, anywhere it will get full sunlight. Avoid shaded locations like near trees.
- Position the panel so it is oriented true south (if you’re in the northern hemisphere) or north (southern hemisphere).
- Use the screws to fasten the mount.
- Connect the solar panel to the mount. Adjust the panel angle to the proper latitude. Use this to find the right angle.
- Fully charge your camera battery before connecting it to the solar panel.
- Hook up the cable to the camera.
iI the charging icon isn’t showing up in your Arlo app, that’s normal. Wait a few hours until the solar panel builds up a charge, then the icon should appear.
Conclusion
One of the frequent complaints with the Arlo Pro 3 Solar Panel is it doesn’t charge fast enough or the battery keeps draining. As we’ve pointed out here, this device works just like any solar panel. Ultimately it comes down to sun hour availability and how much you use your camera. If you use the Arlo Pro 3 Solar Panel during the summer -and use it properly-, then you’ll get virtually endless power supply.

I am an advocate of solar power. Through portablesolarexpert.com I want to share with all of you what I have learned and cotinue to learn about renewable energy.