As an Amazon Associate, this site earns commissions from qualifying purchases. For more details, click here.
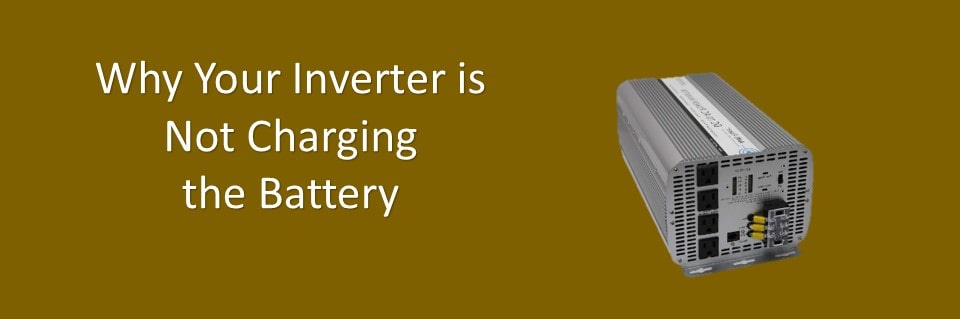
Your appliances are connected to an inverter charger and everything is running smoothly, then one day the inverter stops charging the battery bank. What could have happened? Before you call for technical help, we have listed some common causes and how to fix them.
If an inverter fails to charge a battery the most likely reason is low voltage due to faulty wiring or a dead battery. If replacing the batteries and wires does not resolve the problem, the inverter internal circuits might be damaged.
Let us take a look at the other possible reasons why an inverter fails to charge batteries.
No Battery Power Supply
The first thing that you should do is make sure there is actually power going into the inverter. Without power, the system will not charge.
If you are on a grid tied system there should be power from the grid. Or you might be using a generator or another source, just be certain the inverter is receiving it.
Look up the circuit breaker to ensure it is properly set. If you are familiar with electrical components or installed the inverter yourself, you should have an idea if the set up is correct.
Your inverter owner’s manual comes with a diagram illustrating the various wiring connections to the power supply. Use that as a reference when checking the power.
While you are inspecting the power supply from the inverter to the battery, you might as well go over the entire system. A lot of potential problems with inverter chargers can be avoided by a properly configured power supply.
If you’re serious about using solar power efficiently, understanding battery storage is essential. Choosing the right battery, sizing it correctly, and knowing how to maintain it can make the difference between a reliable off-grid system and a costly mistake. That’s why we created this guide. It breaks down everything you need to know, so you can plan with confidence, avoid common pitfalls, and get the most out of your solar setup.
A Dead Battery
If your battery is dead or rapidly running out of power, it will no longer be able to carry a charge. Even assuming that the battery might start charging, the voltage will quickly drop, making it impossible to run any load.
If you suspect your battery is dead, check for the following signs:
- Look up the lifespan indicated in the manual. This will be in life cycles, years or hours used. If you have been using the same batteries for several years, then it might be time for a replacement.
- Flooded lead acid batteries need maintenance. If you top it off with distilled water regularly but it still fails to charge, it might be a sign the battery is already worn out.
- If your battery has a long service history, it might be time to get a new one. And if your battery has had a history of servicing, consider getting another one. The cost of having them repaired is probably higher than buying a new one.
If you want to have the battery fixed or replaced, look up its warranty. And if it is still under coverage you can get a free replacement or free repair. Do not tinker with the battery because it will void the warranty. The same rule is applicable to the inverter.
Low Battery Voltage
A typical inverter charger requires the voltage to be above 11.5V, assuming the inverter is 12V. If the voltage is lower than this, the system electronics will not be able to initiate a charge. The Ultrapower Battery Load Tester can check the status of your battery.
Some batteries can also be charged via AC power. If that option is available you may use any power outlet to recharge the batteries so the voltage level goes higher than 11.5V.
A solution for low battery voltage is to charge it with solar power, and when there is enough power, hook the battery up to the inverter. For this to work, the solar panels must be the right size to charge the battery bank.
Whether you opt for a solar panel or another power source, the important thing is to supply the battery with power. Doing so will eliminate the low voltage issue. But if it does not, the problem is elsewhere, more likely the cables.
Inverters are built for use with specific battery voltages. If it is a 12V system, use 12V batteries. If it is a 24V system, go with 24V batteries and so on. Using an incompatible battery will damage the inverter and quite possibly any load that is connected to it.
If you’re serious about using solar power efficiently, understanding battery storage is essential. Choosing the right battery, sizing it correctly, and knowing how to maintain it can make the difference between a reliable off-grid system and a costly mistake. That’s why we created this guide. It breaks down everything you need to know, so you can plan with confidence, avoid common pitfalls, and get the most out of your solar setup.
Loose Wiring
The inverter cables to the battery must be the right size and has to be secure. A loose terminal wiring will result in a system failure and the inverter will stop running.
The cables have to be on tight. Give it a slight tug to ensure they are fit. If the wires are properly set, the battery might be dirty or rusty and need cleanup.
Turn the system off and clean the batteries according to the manufacturer instructions. If the batteries are all right, inspect the cable wirings again. A bit of Johnsens 4606 Battery Terminal Cleaner should be enough.
The inverter manufacturer will recommend a specific wire size for the system. Follow the recommendations and install the wires accordingly.
The shorter and thicker the wires, the better for the inverter and battery. A short wire reduces the distance that power has to travel and the less power will be lost.
This means you have to install the inverter as close to the battery bank as possible. Doing so will allow you to use a shorter wire and reduce the possibility of a failed battery charge.
The wires must not only be short but as thick as possible. Thick wire gauges are more expensive, but they provide the best results for inverters and solar systems in general. A short, thick wire improves inverter efficiency and will save you money in the long term.
Blown Fuse
Fuses can blow for a variety of reasons, the most common being a short circuit when running a power load. A fuse can also explode or even melt if the inverter is overloaded. An overloaded system generates heat and puts the various components under strain, including fuses.
If your solar system has a blown fuse, look for the cause before replacing it. If it is due to a short circuit, check all the wirings to avoid a solar arc or even a fire. Once you have figured out the cause of the blown fuse, you can go ahead and replace it.
Inverters need different types of fuses, and you can find the relevant information on the operating manual. The required fuses are usually not included in the inverter package and must be purchased separately. Contact a professional if you are not sure what fuses to use.
Tips and Warnings
These tips and workarounds presume that you are familiar with inverter installations and have experience handling electricity. If not, contact your inverter manufacturer for assistance.
Check the inverter circuitry. Inverters have become more sophisticated, and this also means they have more complex circuitry. These components may cause problems if installation is incorrect or there are other problems with the system.
Look up the other system components. So if your system is on the grid, make sure the other wires and components are working properly. Any problem with these could affect the inverter and its ability to charge the batteries.
Check the charge controller. If your inverter is off the grid, the trouble may have something to do with the charge controller. A charge controller serves as the battery regulator to keep it from being overloaded. A faulty controller to inverter connection might prevent the battery or inverter from receiving any charge. In this case you have to fix or replace the charge controller.
Check the solar panels. A typical off the grid solar system has the following setup: the solar panels charges the battery bank with a charge controller ensuring there is no overload. When there is enough battery charge, the inverter starts up and will run whatever electrical load is placed on it.
If there is insufficient solar power, the system will not run. Everything depends on how much solar power is available for the system. In a typical solar power setup, the inverter does not actually charge the battery. It is the solar panel that powers the battery bank and the inverter draws its power from the batteries.
Conclusion
An inverter charger is a versatile system, able to charge batteries and run appliances. However there will be times when the charging simply will not work. By following the tips in this guide you should be able to get it running again.
Ready to size your solar system the smart way?
Get the DIY Solar Planner — includes a powerful sizing calculator and a step-by-step guide to plan your solar panel system with confidence. You also get wiring diagrams for solar panels, inverters, batteries and much, much more.


I am an advocate of solar power. Through portablesolarexpert.com I want to share with all of you what I have learned and cotinue to learn about renewable energy.